Skip to content
Menu
Pope's Museum
Home
Visit The Museum
Our Story
Laura Pope’s Story
Historic BnB
Weddings
All Inclusive Package
Micro-Wedding
Keepsake
Heirloom
Private Events
Resources
Blog
Contact
Give to the Museum
Close Menu
January
17
2024
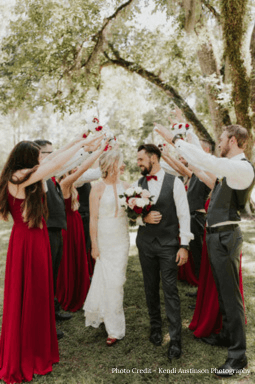
Photo Credit – Kendi Austinson Photography (2) (1)
Photo Credit – Kendi Austinson Photography (2) (1)
We use cookies to enhance your browsing experience, analyze site traffic, and personalize content. By continuing to use this site, you consent to our use of cookies.
Accept